 |
| 太好用,所以有多做一些! It's funny that I really enjoy these dish soap bars! |
 |
| 刨絲更易溶於水,很好洗! The shreds are easily dissolved in water, and good for washing dishes! |
 |
| 有些溶於水,有些可以直接在菜瓜布上搓一搓,都好洗! Some can be shreds, some can be bars. Both are good! |

|
| 太好用,所以有多做一些! It's funny that I really enjoy these dish soap bars! |
|
| 刨絲更易溶於水,很好洗! The shreds are easily dissolved in water, and good for washing dishes! |
|
| 有些溶於水,有些可以直接在菜瓜布上搓一搓,都好洗! Some can be shreds, some can be bars. Both are good! |
 |
| My family loves chocolate and cranberries. |


 |
| 皂化過程溫度很高,硬化時間快,所以要儘早脫模,切皂。 這次在1小時內完成。即使是使用單模,也要儘早脫模。 |
 |
| 刨絲 |
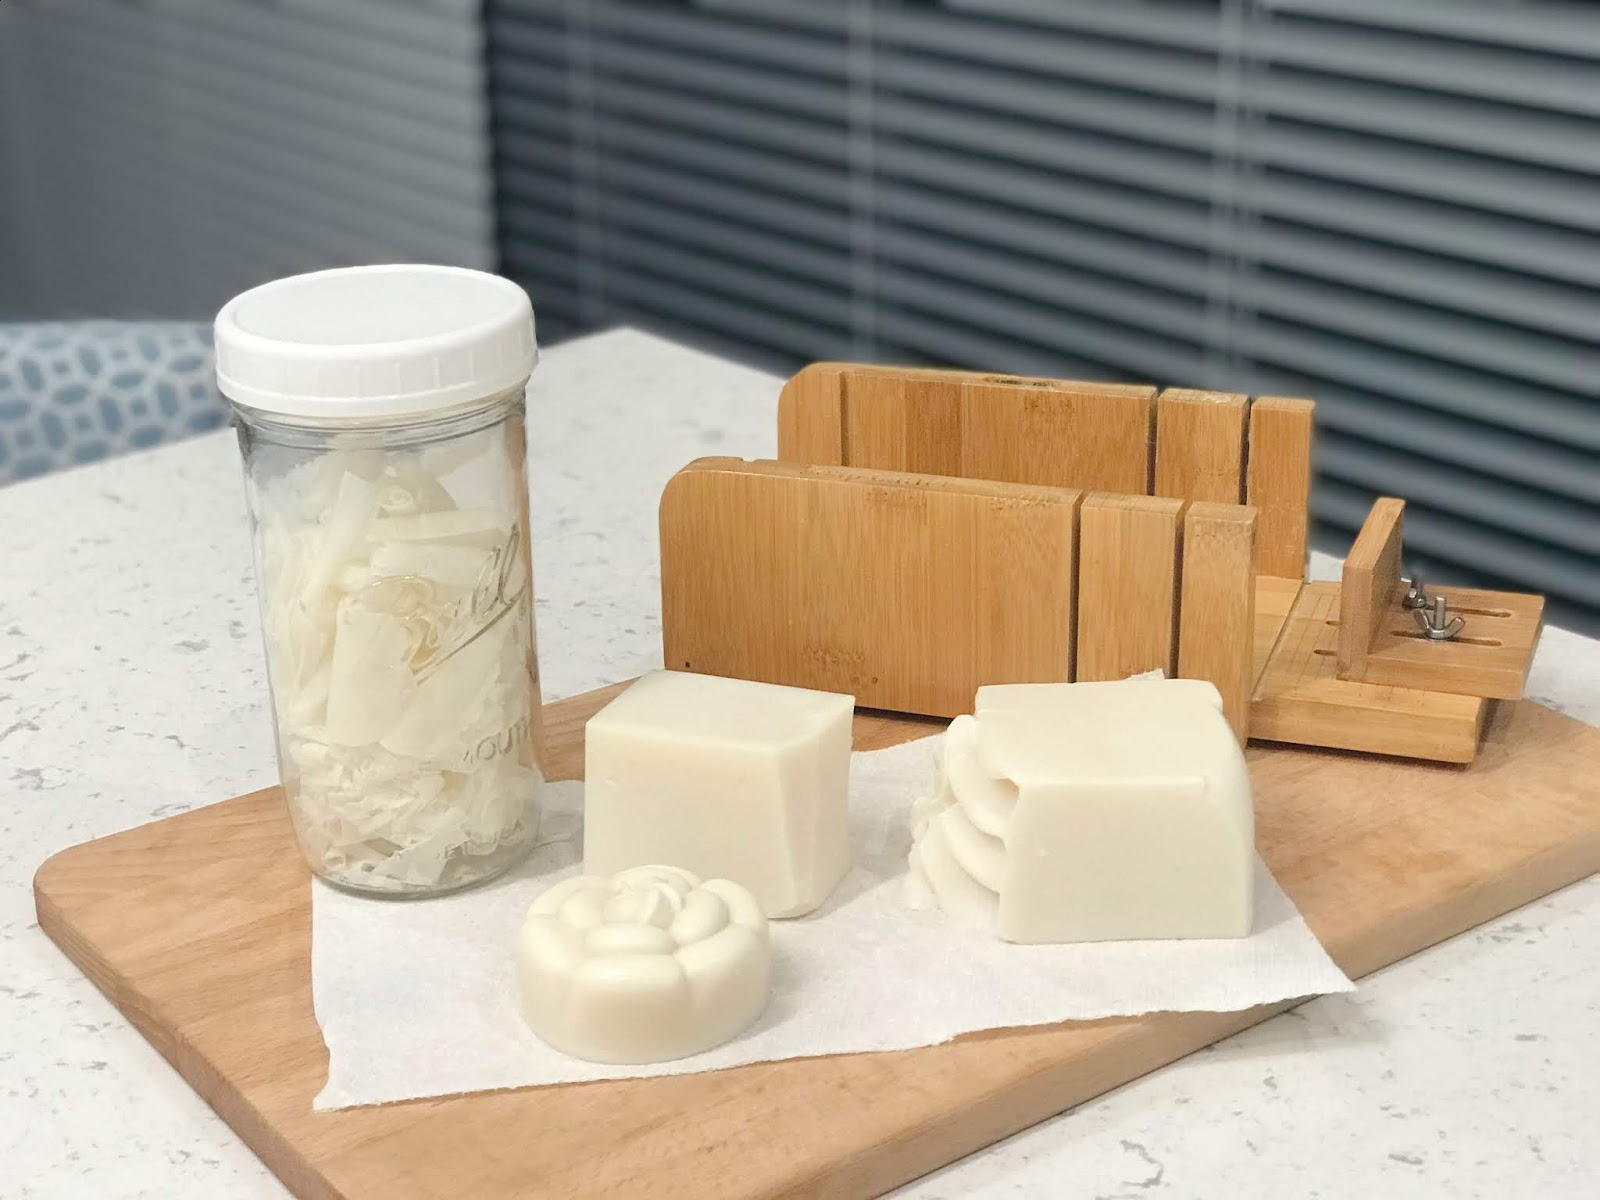 |
| 刨下的皂絲裝入瓶中,方便使用! |


 |
| 這是剛培養好的檸檬酵母液, 完全用它取代水量。 |
 |
| 這次的酵母液火力十足,幾小時後,膨脹三倍以上!餵養比例=1:1 【Lime Starter】Flour:Lime yeast water=1:1 |


 |
| 溫和皂 Gentle Soap |
 |
| 厚度 3 cm |


 |
|


 |
| 吃起來就像冰淇淋,所以稱它為冰淇淋乳酪蛋糕 |

 |
| 烤好後,趁還溫熱時,塗上稍微加水的杏桃醬。 |
 |
| 底部模樣 |
 |
| 正面模樣 |
 |
| 塗好杏桃將模樣 |
一座城市願意提供這麼多免費的展覽、講座、戶外音樂會,讓藝術不只是屬於劇院或美術館,而是走進每個人的生活,住在這裡,願意多跨出一步去參與,每一年累積起來,都是很豐富的人生。 Nocturne 這個字源自拉丁文 nocturnus ,意思是「屬於夜晚的」。十九世紀之後,因為蕭邦等作...


